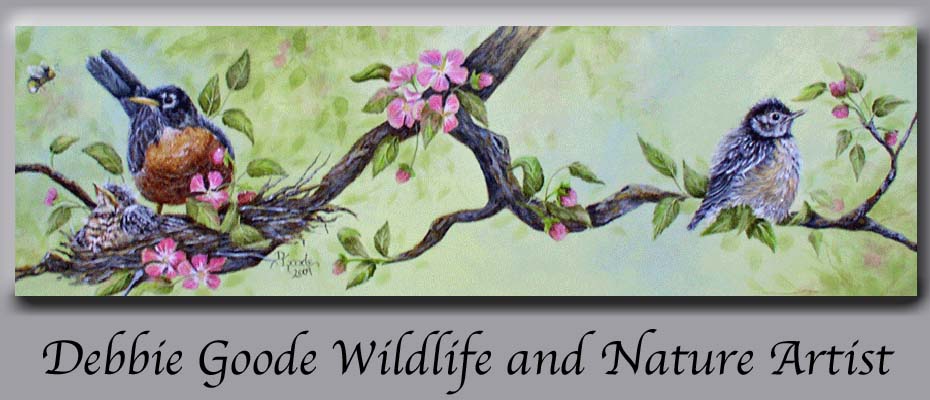
This is the next stage of my painting. I first painted in a mottled back ground using a wet into wet technique. By the way, in case I forgot to mention it, this is acrylic on canvas. I spray the canvas with a fine mist of water to slow the drying time and use broad stokes in an "x" motion. I usually repeat this process at least 2 to 3 times until I'm happy. I like to let the background dry overnight before applying the sketch. I almost always do my sketches on tracing paper and than apply them with a good quality transfer paper. By doing my sketch on tracing paper, I can

always overlay the pattern on the painting. This is especially helpful when things start to "grow" and need to be pared back.
I have begun to work on one of the blossoms and a couple of leaves. At this point, it is kinda trial and error method. I apply soft washes of color and build up the layers. Questions, comments always welcome
 These are the 'in progress' photos I promised. As you can see, I start out by simply washing in color. I allow that to dry and then start building up the values and adding additional color. I do this primarily by adding stronger washes. Next I break out my liner brush and start picking out the shapes I want to bring forward--those are highlighted. I then go back and reinforce shadows where necessary. I'm using a lot of light blue as my highlight color for the nest. I just like the way it plays off the pink flowers.


